1 of 11
From the Project Dashboard, click the Create Event button

You're well on your way! Click Next for the next step.
2 of 11
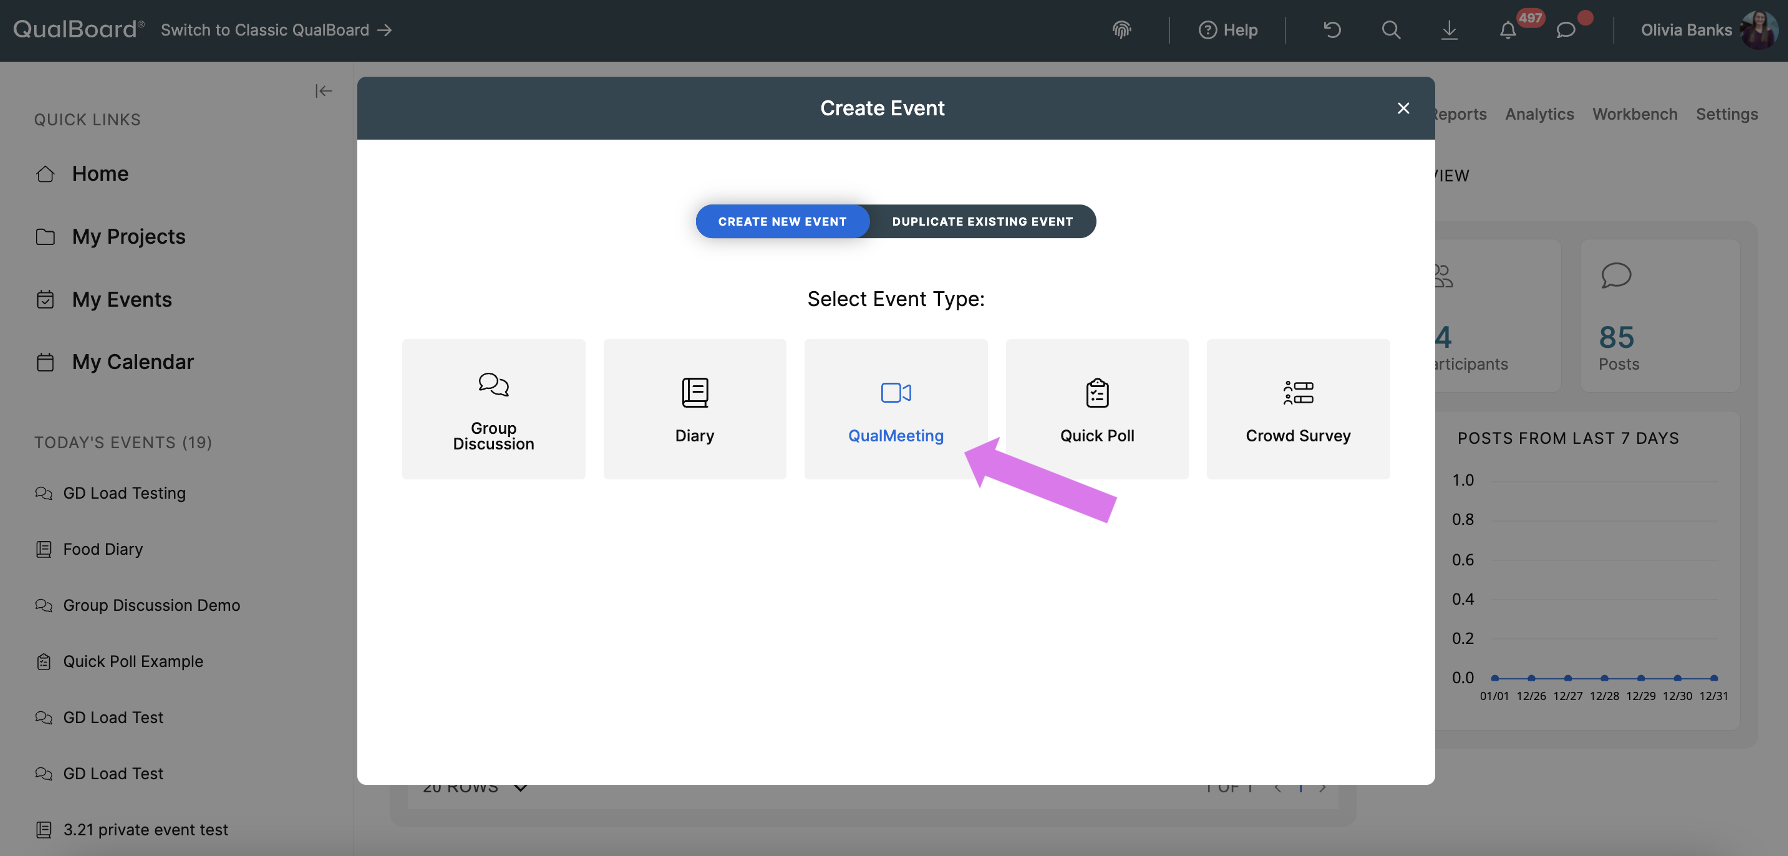
Select the button that says QualMeeting.
3 of 11
Next you will give your event a Public and Private Name. The Public Name can be viewed by any user, the Private name is not visible to respondents. Select the timezone that the project's open date will be based off of and a language. Then set the duration of the video interview from the start time. Finally, click Create Event.

4 of 11
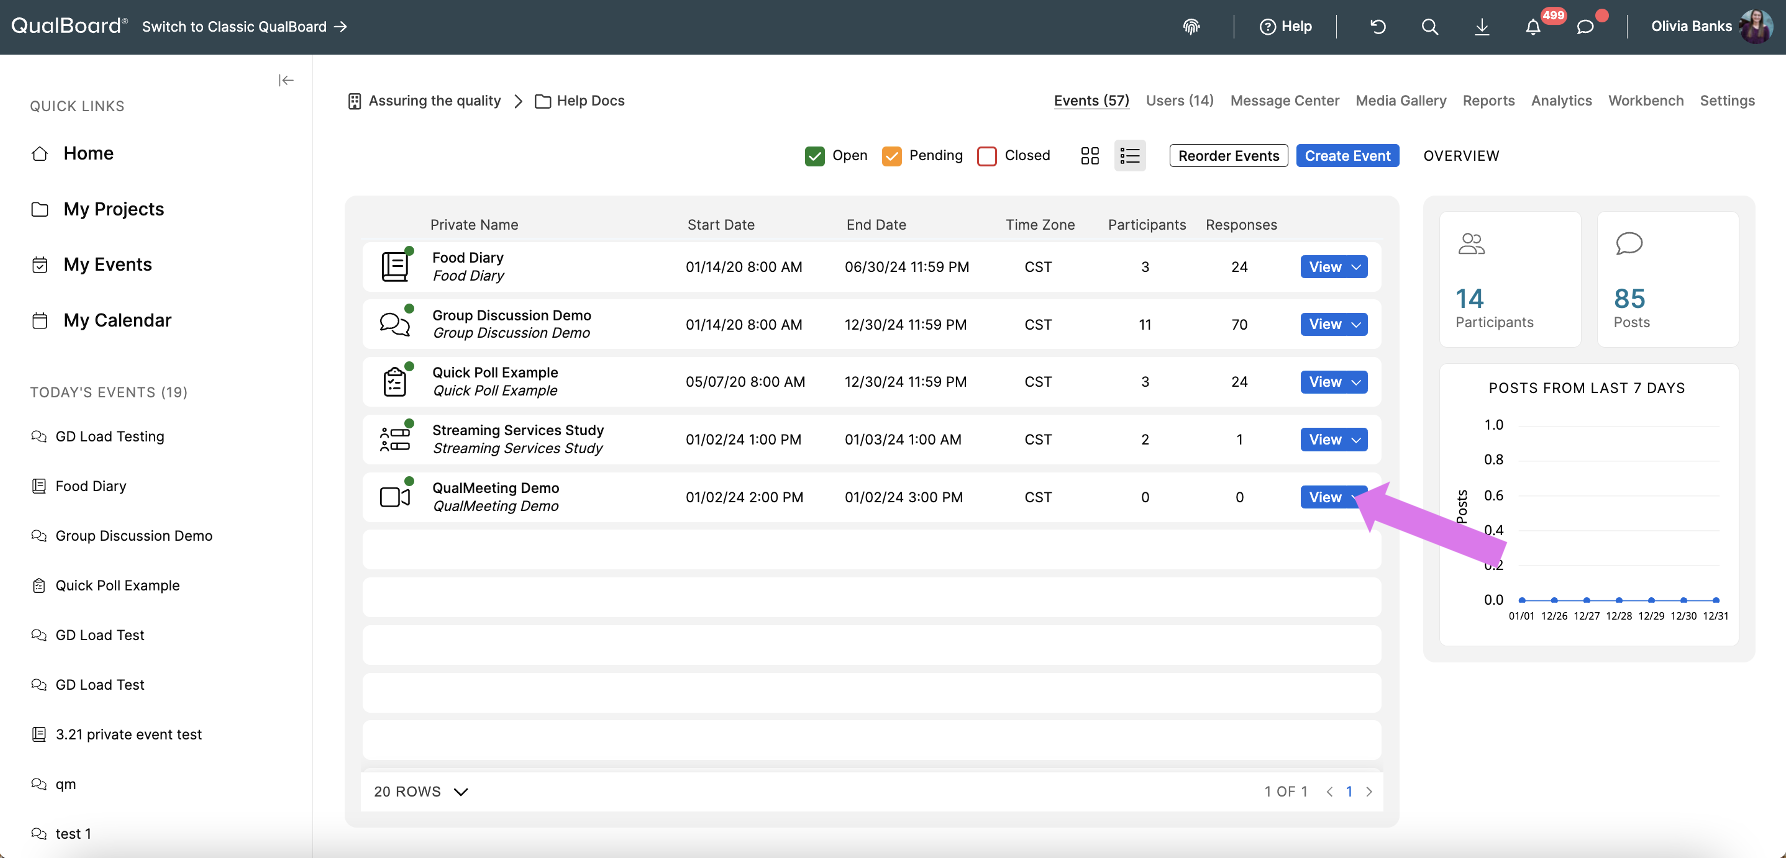
Click View Event to enter into the event and begin setting everything up! Alternatively if you have a place you know you want to jump to, you can click the arrow next to view event.
5 of 11
When you are ready to begin your QualMeeting, click the green button.

6 of 11
While in an interview, to mute yourself, click the microphone icon. To turn off your video, click the camera icon. To media share, click the media share button. To share your screen, click the computer screen button.

7 of 11
To view the Users list, click the Users icon in the sidebar.

8 of 11
From the Users menu, you can click on a participant's name to access the menu to mute/unmute a participant's microphone, turn on/off a participant's camera, and request that a participant shares their screen. You also can view their dial-in information, and have a quick way to message the user.

9 of 11
To open or close the backroom chat, click the chat button in the sidebar.

10 of 11
When someone is screen sharing, the layout changes and places the videos on the side of the screen.

11 of 11
When you want to leave or end a QualMeeting, use the red phone button at the bottom of the screen. If you choose to leave the interview, the call will still continue. If you choose to end the interview, it will end for everyone. When it has finished compiling, the recording will be available to play from the lobby as well as to download in the moderator section of the media gallery.
