1 of 11
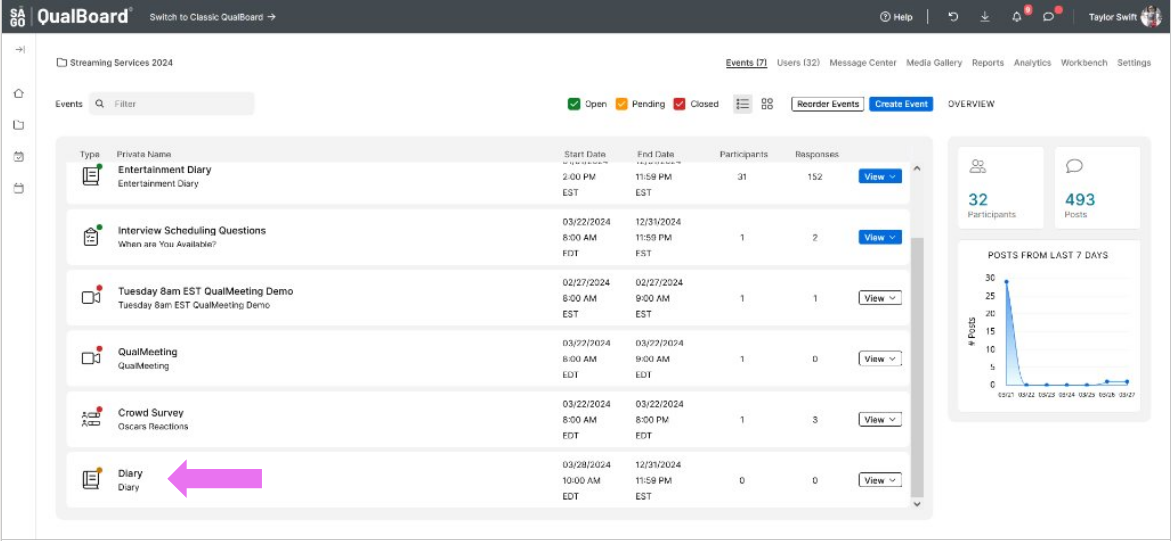
From the Project Dashboard, click the Add Event button

You're well on your way! Click Next for the next step.
2 of 11
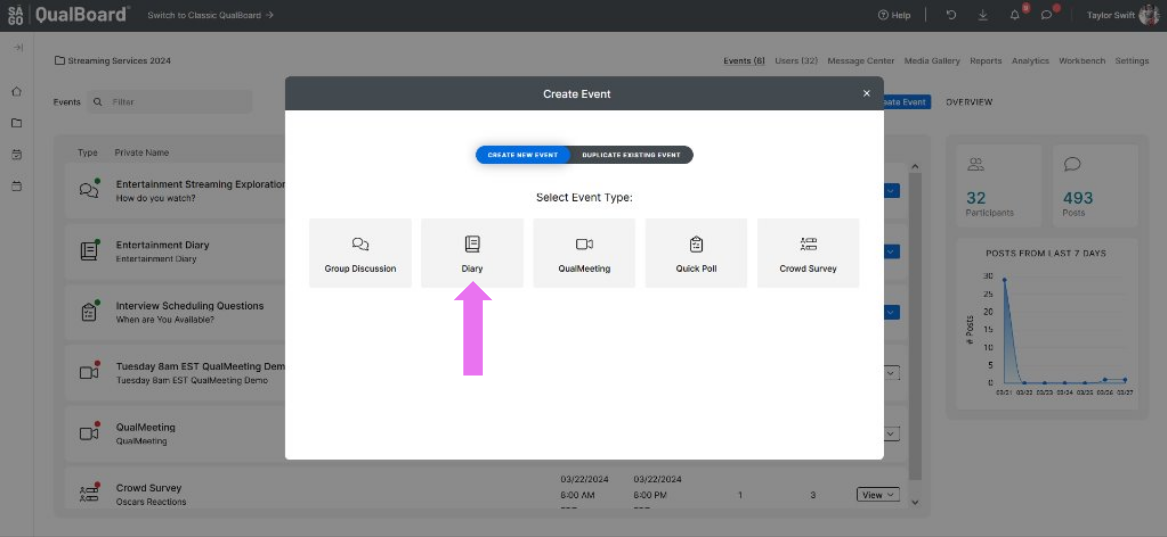
Select the green box that says Diary.
3 of 11
Next, you will give your event a Public and Private Name. The Public Name can be viewed by any user, the Private name is not visible to respondents. Select the timezone that the project's open and close dates will be based on. Then select the frequency of your activity. Finally, click Create Event.

4 of 11
Click View Event to enter into the event and begin setting everything up! Alternatively if you have a place you know you want to jump to, you can click the arrow next to view event.
5 of 11
Click Edit to begin adding questions for the respondents to complete.

6 of 11
Click "Click here to add one." to begin setting up your questions.

7 of 11
First, you are able to choose your question type. Click the drop-down and select the format you would like to have for your questions.

8 of 11
The first text box is the task title to identify the question (this is visible to the respondents). The second box is the area for you to put the instructions of the task for the respondent to complete.

9 of 11
Below the task body, you will see question settings that vary depending on the question type (i.e. Require Media). If these are green, it means that they are applied for the question.

10 of 11
You can click the attach button to add media to your task for respondents. To see a list of accepted media, go here.

11 of 11
Click Save, and that's it! You've made your first question!
